


Battery Navigation


Latest topics
 feeds
feeds
Search
Battery Statics
Ads
Guide for replacing Nintendo Switch Joy-Con Battery
Page 1 of 1

Guide for replacing Nintendo Switch Joy-Con Battery
![]() Admin Sun Aug 23, 2020 7:50 pm
Admin Sun Aug 23, 2020 7:50 pm
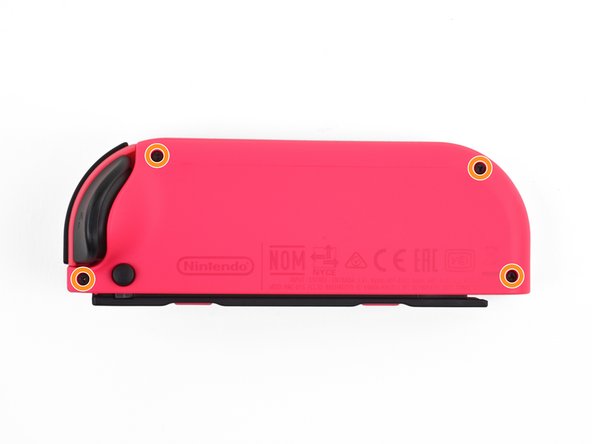
Remove the four Tri-Point Y00 screws from the back panel of the Joy-Con.
Insert an opening pick into the seam at the bottom edge of the controller (opposite the L and ZL buttons).
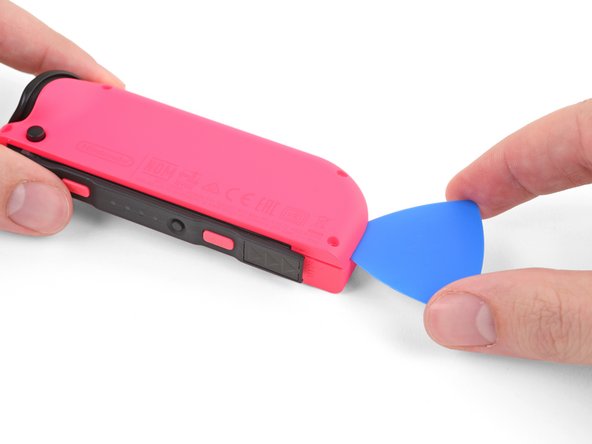
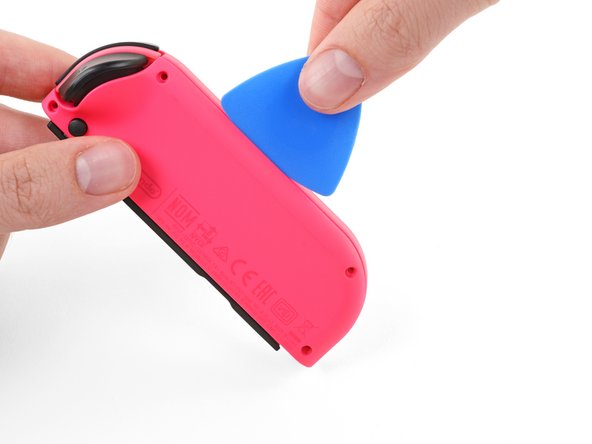
Slowly slide the flat edge of your opening pick up the side of the Joy-Con.
With the charging rail facing away from you, open the the Joy-Con like a book.
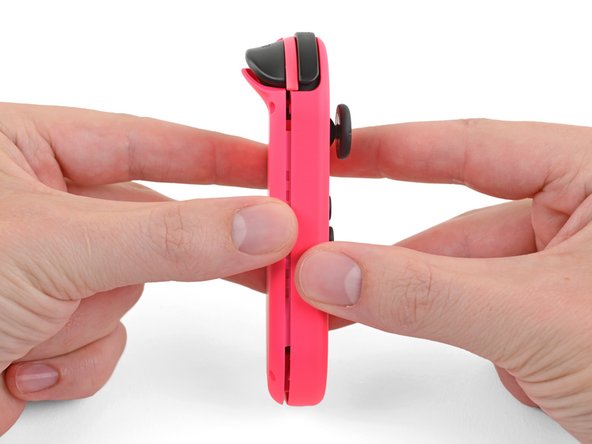
Don’t try to fully remove the back panel yet. There are still two cables connecting the charging rail to the motherboard.

Use a spudger to gently pry the battery connector straight up from its socket on the motherboard. This will keep the Joy-Con from powering on during the repair.

Insert an opening pick between the battery and the Joy-Con housing.

Gently pry out the battery, which is lightly taped in place.
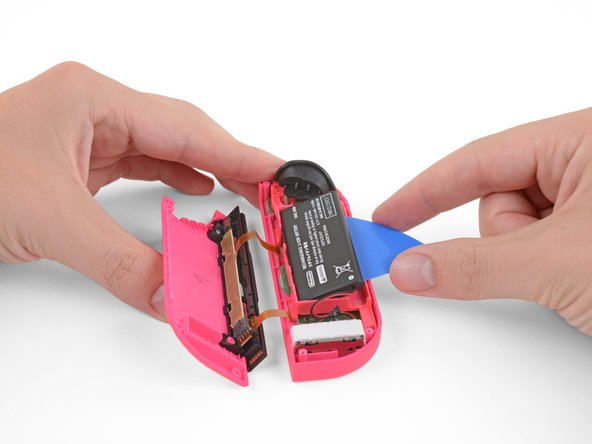
Be careful not to deform or puncture the battery—it can catch fire or explode if damaged.

Install the new battery

Follow us on Wechat to see more battery repair guides.

Insert an opening pick into the seam at the bottom edge of the controller (opposite the L and ZL buttons).
Slowly slide the flat edge of your opening pick up the side of the Joy-Con.
With the charging rail facing away from you, open the the Joy-Con like a book.
Don’t try to fully remove the back panel yet. There are still two cables connecting the charging rail to the motherboard.
Use a spudger to gently pry the battery connector straight up from its socket on the motherboard. This will keep the Joy-Con from powering on during the repair.
Insert an opening pick between the battery and the Joy-Con housing.
Gently pry out the battery, which is lightly taped in place.
Be careful not to deform or puncture the battery—it can catch fire or explode if damaged.
Install the new battery
Follow us on Wechat to see more battery repair guides.

Admin- Admin
- Posts : 2334
Points : 7035
Reputation : 0
Join date : 2009-11-29 -

» Nintendo Switch Lite Battery HDH-003
» Teardown of Samsung Galaxy Watch 3 down and instruction of replacing its battery
» iPhone 4G repair guide
» Battery replacement guide for Jabra Evolve 65
» Nintendo DSI battery TWL-003
» Teardown of Samsung Galaxy Watch 3 down and instruction of replacing its battery
» iPhone 4G repair guide
» Battery replacement guide for Jabra Evolve 65
» Nintendo DSI battery TWL-003
Page 1 of 1
Permissions in this forum:
You cannot reply to topics in this forum|
|
|
» Braun Silk Epil 9 Shaver Battery 81377206
» Braun Series 7 Shaver Battery UR18500Y
» Braun Silk Epil 5 Shaver Battery UR14500Y
» Braun Series 3 Shaver Battery HR-AAUV 67030923
» Logitech UE Wonderboom 2 Bluetooth Speaker Battery 533-000154